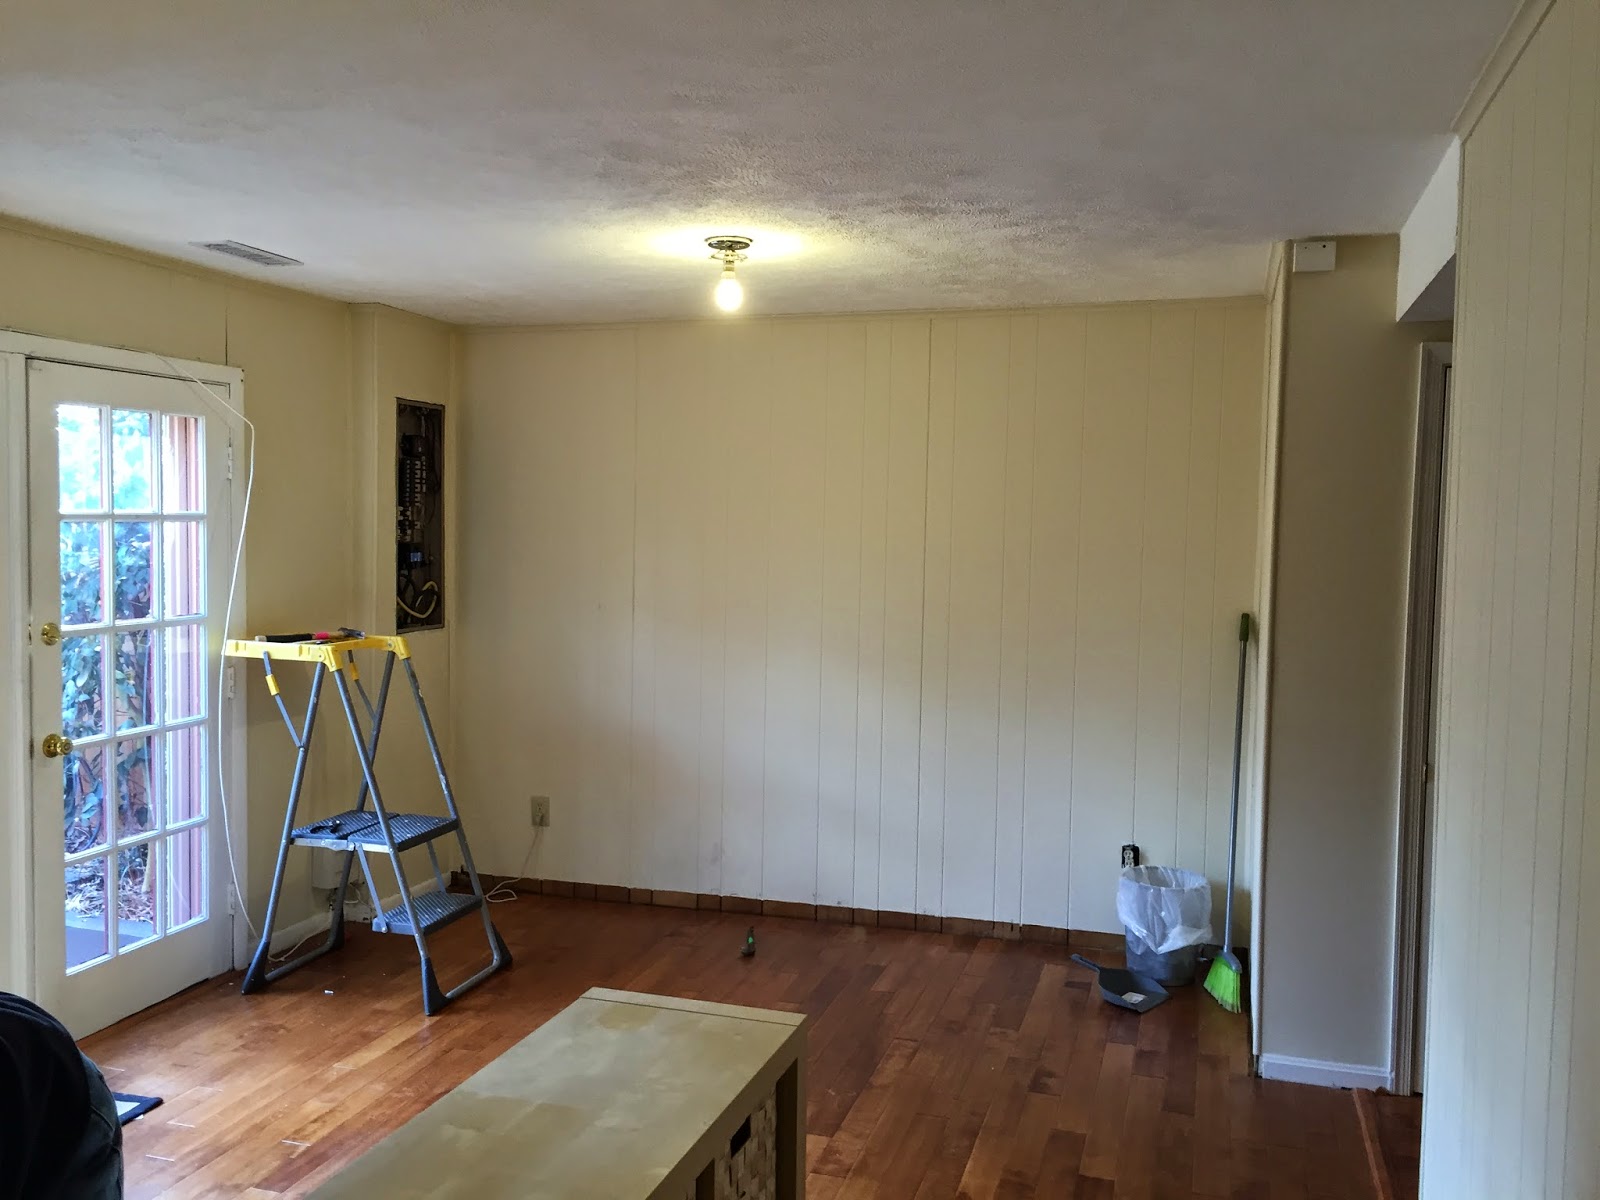
No problem - we've done that and have some Habitat experience. But---we learned lots and we turned our 3 day project into 7 days.
First thing was the removal of baseboards and paneling.
One thing we learned was that we need to put down paper on the flooring for the project. No matter how careful we were, by the time we removed paneling and brought in the 4' x 8' sheets of drywall, there were a few blemishes
 on the floor.
 It was later than it should have been but we got the paper and put it down.
We started this project Thursday afternoon when we arrived. The weather forecast called for rain on Friday, so we needed to buy the drywall and figure out a way to get it from Home Depot to the house.
Putting in on top of the CRV or their Subaru was not an option but Home Depot had a truck we rented for an hour.
We picked out some sheets that were not damaged and moved them from the stack to the carts in the store.
We picked up some drywall supplies including a 3 gallon bucket of joint compound (who needs 3 gallons? - we are only doing one room!)
[We do! As it turned out we used almost all of it. Hard to imagine, but the goal is to have zero seams in the walls or spots where one can see where some taping occurred. To do that, it takes 2 or 3 or 4 sessions of filling, sanding, smoothing, filling, sanding, smoothing (with a wet washcloth.)].
Once we got the drywall and supplies through checkout, I went and got the Home Depot truck we rented for an hour and then loaded them onto the back. A passerby was nice enough to help load the 12 sheets. But we couldn't take him home so the unloading was left up to us.
We parked near the curb and figured out a method to get them off the truck one at a time.
It worked well. The hard part was carrying the sheet from the curb to the back door of their place. It was about 50 yards.
12 trips later, we got it all inside!
I could not have done it with out this little guy.
We stacked it neatly against a wall and then took the truck back in record time. I only had to rent the truck for an hour so it was very reasonable.
After we took the truck back we got ready to hang the new dry wall. We'll show that next post.
Thanks for joining us today on the Roadrunner Chronicles!


Three days work done in seven? No sense in rushing a job to ensure it comes out perfectly. Plus, being retired and having all kinds of time, what else would one do?
ReplyDeleteNice to see all that talent you've learned from all those volunteer builds put to good use. :c)
Dry walling is hard work..When we did our bathroom we also did the ceiling...sheesh..We had to rent a dry wall lifter to get it in place for the screws..too heavy to lift to the ceiling!!! Can't wait to see the finished project!
ReplyDeleteAnxious to see the final results... and I bet it was worth it! Those handy dry wall carrying handles work GREAT!
ReplyDeleteKarenInTheWoods and Steveio
~*~*~*~*~*~*~*~*~*~*~*~*~*~*~*~*~*~*~*~*~*~*~*~*~*~
(Blog) RVing: The USA Is Our Big Backyard
http://kareninthewoods-kareninthewoods.blogspot.com
~*~*~*~*~*~*~*~*~*~*~*~*~*~*~*~*~*~*~*~*~*~*~*~*~*~