Pam and I left Seal Beach, CA and returned to the FamCamp at March ARB in Moreno Valley, CA. It was a two hour ride and we had no problems (e.g. red 'Stop Engine' lights) at all. The Roadrunner ran great and it was an uneventful and quite comfortable ride.
So we spent the day with Bob and Sue in Redlands and basically 'hung out'. Which is always fun to do.
Bob is a unique guy and is very handy. I've never met one who can do as many things as he can. He is a true 'fixer' and figures things out or invents a way to get the job done. A real problem solver. Most problems are not problems to him.
One of the most fascinating things about him is his garage. His garage has always been a thing of wonder. He has more things in his garage than anyone I know. Despite the fact that there is a lot in there per square inch, he knows where everything is.
And he has a world class woodworking and
invention center right out side his back door. He built his house that way on purpose. Contractors did the majority of his house but he did a boat load himself.
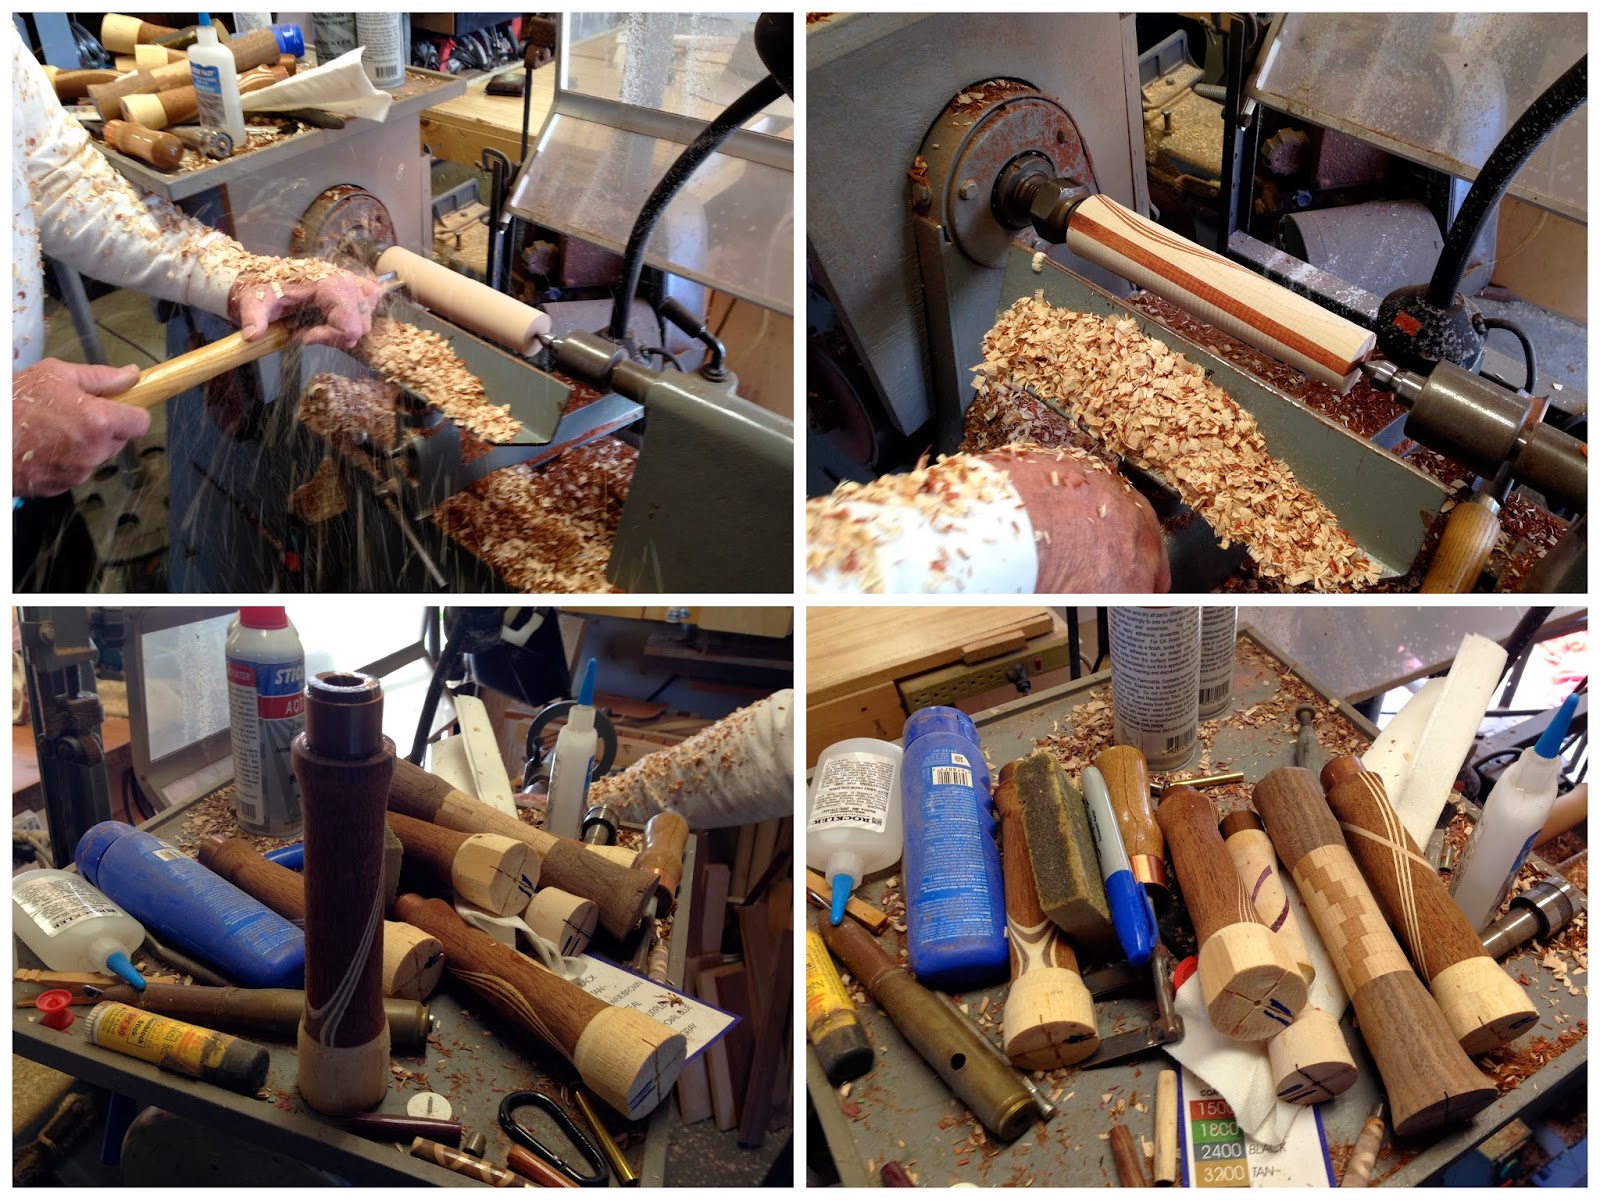
For a couple of years now he has 'turned' some wood on his lathe to make the screwdrivers. I decided to document some of the steps in his process and some of his
inventions...
First -- he gets screwdriver materials from his supplier for the new screwdrivers which is similar to those shown below.
Except the ones he uses have both a Philips head and flat head insert in each end: with a 3/4" and a 3/16" tip
His supply are orange plastic screwdrivers initially. He takes the orange head and cuts the orange handle so he can pound out the inside sleeve that holds the stem which he will later use inside his new handle. If you look closely you can see one of his inventions. He welded a socket onto the end of another screwdriver and then pounds out the cylinder for use in the new screwdriver.
He also "glues up" different colors of wood for future use on the lathe for screwdriver handles. The lower right two pictures show him and Pam gluing sheets of veneer inside a cut of wood that he screws down/clamps down tightly with wood glue in between each layer.
So he gets the pieces ready the new screwdriver handle.
And he gets different pieces of wood glued together that he will use on the lathe to shape into a screwdriver handle.
(Note the jig/clamp. It is another invention he welded together with nuts and finger bolts so he could get lots more pressure along the entire side of piece he is gluing. Much better than standard clamps.)
Then he puts the wood on the lathe and does his turning magic
And shaves the handle down into the precise shape and size of handle that he wants. He usually does quite a few at a time but in this case he was showing us the whole process so he just worked on one.
When it is about the right size, he focuses on the tip where he will be placing his signature copper band. He cuts 1" copper tubing band for the end. Then he shaves away on the handle so the band will fit on the tip.
If you look real close, you can see the caliper that he uses to make sure he cuts it down for a snug fit. Note another
invention - the caliper. He welded pieces together the measurement for the copper tubing/ring to slide snugly onto the end.
Next, he epoxies the copper band onto the hand.
Later he puts it back onto the lathe to "sand" the copper band and finish sanding the handle.
After he sands the handle down well, he begins with the smooth and shiny finish process.
He puts on about 10 coats of Stick Fast Glue and Activator.
He puts the Glue on a paper towel, applies it to the handle, then sprays the Activator. It dries immediately. Then more Glue, more Activator etc.
Then some wet sanding. He got a package of 9 sheets of fine sand paper, cut them into small sections and then numbered them 1 to 9.
After letting the sandpaper sections soak for a few minutes, he used each sandpaper section one at a time and went over the handle 9 times. It is really really fine sandpaper, so after he does that, he wipes the screwdriver down, inserts the stem and it is done.
The finished product!
Unless you want it with your name on it. Then there is some more work to do. But after all that he sells them for $35 w/o name; $40 with engraving.
It is a hobby, not something he is going into business doing. But sometimes he sets up a table with his screwdrivers.
Bob and wife Sue will be joining us for a few days at Quartzsite, AZ for a couple of days. We will probably set up a table in front of our rig at the 'Tiffin Gathering 2014' at La Posa South area in the BLM.
If you are in the area, come by and check some out.
In the mean time, hope you have a good week. Thanks for joining us on the Roadrunner Chronicles! Until next time...